1999 Volvo Penta "WT" Models Workshop Manual, Page 100Get this manual
3Remove any ridge andor deposits from the upper end of the cylinder bores with ridge reamerI Note Move piston to the bottom of its travel and place cloth on top of piston to collect the cuttingsAfter ridge andor deposits are removed, turn crankshaft until piston is at the top of its stroke and carefully remove cloth with the cuttings4Check connecting rods and pistons for cylinder number identification and if necessary, mark them5Remove connecting rod cap nuts and capsPush the rods away from the crankshaft and install caps and nuts loosely to their respective rods6Push piston and rod assemblies away from crankshaft and out of the cylindersINotellt will be necessary to turn the crankshaft slightly to disconnect some of the rods and push them out of the cylinder Piston and Rod Disassembly
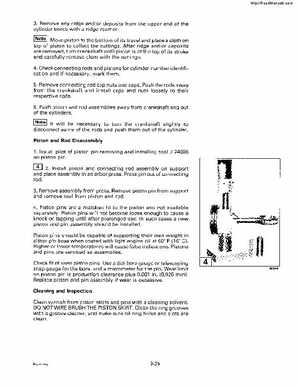
1Install pilot of piston pin removing and installing tool J-24086 on piston pin
2Install piston and connecting rod assembly on support and place assembly in an arbor pressPress pin out of connecting rod
3Remove assembly from pressRemove piston pin from support and remove tool from piston and rod4Piston pins are matched fit to the piston and not available separatelyPiston pins will not become loose enough to cause knock or tapping until after prolonged useIn such cases new piston and pin assembly should be installedPiston pins should be capable of supporting their own weight in either pin boss when coated with light engine oil at 60 (16 C)Higher or lower temperatures will cause false indicationsPistons and pins are serviced as assembliesCheck fit of used piston pinsUse dial bore gauge or telescoping snap gauge for the bore, and micrometer for the pinWear limit on piston pin is production clearance plus 0.001 in(0,025 mm)Replace piston and pin assembly if wear is excessive861.1046