1990-1998 Arctic Cat Snowmobiles Repair Manual, Page 228Get this manual
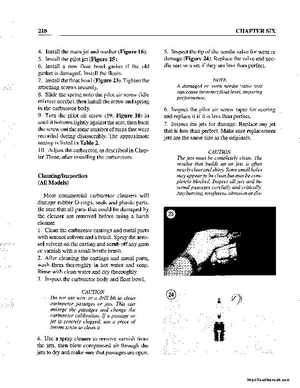
218 4Install the main jet and washer (Figure 16)5Install the pilot jet (Figure 15)6Install new float bowl gasket if the old gasket is damagedInstall the floats7Install the float bowl (Figure 23)Tighten the attaching screws securely8Slide the spring onto the pilot air screw (idle mixture needle), then install the screw and spring in the carburetor body9Turn the pilot air screw (19, Figure 10) in until it bottoms lightly against the seat, then back the screw out the same number of turns that were recorded during disassemblyThe approximate setting is listed in Table 210Adjust the carburetor, as described in Chapter Three, after installing the carburetorsCleaningInspection (All Models) Most commercial carburetor cleaners will damage rubber O-rings, seals and plastic partsBe sure that all parts that could be damaged by the cleaner areremoved before using harsh cleaner1Clean the carburetor castings and metal parts with aerosol solvent and brushSpray the aerosol solvent on the casting and scrub off any gum or varnish with small bristle brush2After cleaning the castings and metal parts, wash them thoroughly in hot water and soapRinse with clean water and dry thoroughly3Inspect the carburetor body and float bowlCAUTION Do not use wire or drill bit to clean carburetor passages or jetsThis can enlarge the passages and change the carburetor calibrationIf passage or jet is severely clogged, use piece of broom straw to clean it