Suzuki outboard motors 1988 2003 repair manual., Page 315Get this manual
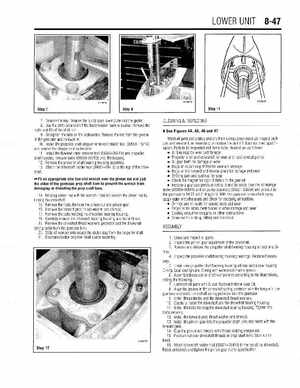
LOWERUNIT 8-47 7Remove the keyRemove the pump case lower plate and the gasket8Use the shift rod and shift the transmission back to neutralRemove the bolts and lift off the shift unit9Straighten the tabs on the lockwasherRemove the key from the groove in the gearcase and lockwasher10Install the propeller shaft stopper removerlinstaller tool (09951-18710) and remove the stopper and lockwasher11Install the flywheel rotor remover tool (09930-39411) and propeller shaft housing remover arms (09950-58710) onto the housing12Remove the propeller shaftlbearing housing assembly13Attach the driveshaft holder tool'(09921-29410) to the top of the driveshaft Fit an appropriate size box-end wrench over the pinion nut and pad the sides of the gearcase prop shaft bore to prevent the wrench from damaging or distorting the prop shaft boreGLEANINGINSPECTING
See Figures 44,45, 46 and 47
Wash all parts completely and dry them using compressed airInspect each part and service it, as necessary, or replace the part if it does not meet specificationParts to be inspected and items to be checked are as follows: All bearings for wear and damage Propeller shaft and driveshaft for wear at oil seal contact points All gear teeth for damage or wear Dogs on clutch dog shifter for wear and damage Dogs on the forward and reverse gears for damage and wear Shifting cam and pushrod for wear Check the magnet for sign of debris in the gear oil Perform gearcase pressure test to check the sealsUse the oil leakage tester (09950-69511) and air pump assembly (09821-00004) and pressurize the gearcase to 14.22 psi (1.0 kglcm)With the gearcase pressurized, spray soapy water onto the seals and check for escaping air bubblesO-rings and oil seals for cracks, tears and wear Propeller for nicks, bent blades or other damage and wear Cooling circuit for clogging or other obstructions Gearcase for rusting, pitting and distortion14Holding pinion nut with the wrench installed, loosen the pinion nut by turning the driveshaft15Remove the toolsRemove the pinion nut and pinion gear16Remove the forward gear, thrust washer and shim(s)17Remove the bolts holding the driveshaft bearing housing18Carefully remove the driveshaft bearing housing and the shift rod19Remove the driveshaft thrust washers, protector and the driveshaft sorina collar from the aearcase bore' 20Slide all components except the clutch dog from the propeller shaft 21Disassemble the propeller shaft clutch assemblyASSEMBLY