Suzuki outboard motors 1988 2003 repair manual., Page 254Get this manual
7-42 POWERHEAD forth in the trough and out the oil holes into the rod or piston pin bearingsThis provides sufficient lubrication for these bearingsWhen the rod is equipped with oil holes, the oil holes have to be placed in the upward position toward the tapered end of the crankshaft when reassembledINSPECTION
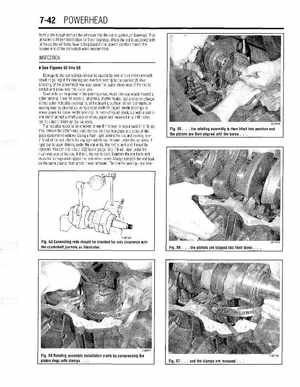
See Figures 53 thru 8
Damage to the connecting rod can be caused by lack of lubrication and will result in galling of the bearing and eventual seizing to the crankshaftOver speeding of the powerhead may also cause the upper shank area of the rod to stretch and break near the piston pinSteel rods are inspected in the bearing areas, much like you would inspect roller bearingLook for scoring, pit marks, chatter marks, rust and color changeA blue color indicates overheating of the bearing surfaceMinor rust marks or scoring may be cleaned up using crocus cloth for caged needle bearings or emery paper for loose needle bearingsA piece of round stock, cut with slot in one end to accept small piece of emery paper and mounted in drill motor, can be used to clean up the rod endsThe rod also needs to be checked to see if it is bent or has twist in itTo do this, remove the piston and place the rod on surface plate or piece of flat glass (automotive widow)Using flash light behind the rod and looking from in front of the rod, check for any light which can be seen under the rod endsIf light can be seen shining under the rod ends, the rod is bent and it must be feeler gaugeSee if it will start under the replacedYou can also use ,002 machined area of the rodIf it will, the rod is bentExamine the rod bolts and studs for damage and replace the nuts where usedAlways reinstall the rod back on the same journal from which it was removedThe needle bearings, rod bear-