Suzuki outboard motors 1988 2003 repair manual., Page 87Get this manual
FUEL SYSTEM 4-25 CLEANINGINSPECTION
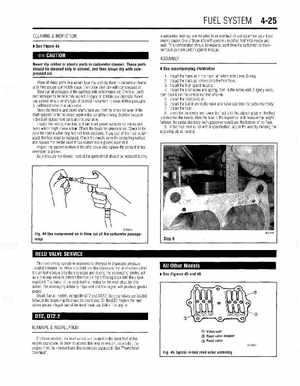
See Figure 44
Never dip rubber or plastic parts in carburetor cleanerThese parts should be cleaned only in solvent, and then blown dry with compressed aircarburetor overhaul are included in an overhaul kit available from your local marine dealerOne of these kits will contain matched fuel inlet needle and seatThis combination should be replaced each time the carburetor is disassembled as precaution against leakageASSEMBLY
See accompanying illustration
1Install the main jet in the main jet holder with new O-ring2Install the main jet holders into the float bowl3Install the high speed nozzles4Install the pilot screw and springTurn in the screw until it lightly seats, then back it out the correct number of turns5Install the pilot (idle) jet6Install the fuel inlet needle valve and valve seat into the carburetor body7Install the float8Invert the carburetor and lower the float until the adjusting tab on the float just touches the needleHold the float in the is position and measure the height between the carburetor body (with gasket removed) and the bottom of the float9If the float level is not within specification, adiust the level bv bendina the adjusting tab as neededPlace all metal parts in screen type tray and dip them in carburetor cleaner until they appear completely clean, then blow them dry with compressed airBlow out all passages in the castings with compressed airCheck all parts and passages to be sure they are not clogged or contain any depositsNever use piece of wire or any type of pointed instrument to clean drilled passages or calibrated holes in carburetorMove the throttle and choke shafts back and forth to check for wearIf the shaft appears to be too loose, replace the complete mixing chamber because individual replacement parts are not availableInspect the mixing chamber, and fuel bowl gasket surfaces for cracks and burrs which might cause leakCheck the floats for deteriorationCheck to be sure the needle valve loop has not been stretchedIf any part of the float is damaged, the float must be replacedCheck the needle valve tip contacting surface and replace the needle valve if this surface has groove worn in itInspect the tapered section of the pilot screw and replace the screw if it has developed grooveAs previously mentioned, most of the parts which should be replaced during05004G14