1996 Johnson Evinrude "ED" 60 LV 90, 115, 150, 150C, 175 Service Manual, P/N 507127, Page 88Get this manual
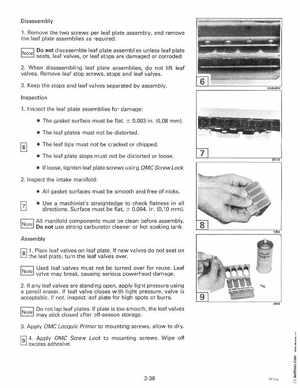
Disassembly 1Remove the two screws per leaf plate assembly, and remove the leaf plate assemblies as requiredINotel Do not disassemble leaf plate assemblies unless leaf plate seats, leaf valves, or leaf stops are damaged or corroded2When disassembling leaf plate assemblies, do not lift leaf valvesRemove leaf stop screws, stops and leaf valves3Keep the stops and leaf valves separated by assemblyInspection 1Inspect the leaf plate assemblies for damage: The gasket surface must be flat, 0.003 in(0,08 mm) The leaf plates must not be distorted The leaf tips must not be cracked or chipped The leaf plate stops must not be distorted or loose If loose, tighten leaf plate screws using OMC Screw Lock2Inspect the intake manifold: All gasket surfaces must be smooth and free of nicks Use machinist's straightedge to check flatness in all directionsSurface must be flat, 0.004in(0,10 mm)All manifold components must be clean before assemblyDo not use strong carburetor cleaner or hot soaking tankAssembly 1sl1Place leaf valves on leaf plateIf new valves do not seat on the leaf plate, turn the leaf valves overUsed leaf valves must not be turned over for reuseLeaf valve may break, causing serious powerhead damage2If any leaf valves are standing open, apply light pressure using pencil eraserIf leaf valve closes with light pressure, valve is acceptableIf not, inspect leaf plate for high spots or burrs;