1993 Johnson Evinrude "ET" 40 thru 55 Service Manual, P/N 508283, Page 84Get this manual
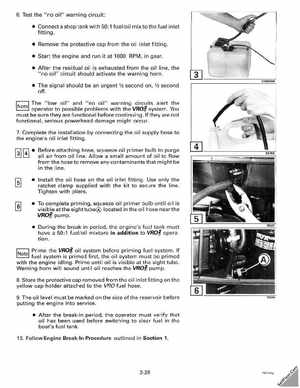
6Test the "no oil" warning circuit: Connect shop tank with 50: fueloil mix to the fuel inlet fitting Remove the protective cap from the oil inlet fitting Start the engine and run it at 1000 RPM, in gear After the residual oil is exhausted from the oil line, the "no oil" circuit should activate the warning horn The signal should be an urgent 12 second on, 12 second offThe "low oil" and "no oil" warning circuits alert the operator to possible problems with the system You must be sure they are functional before continuing If they are not functional, serious powerhead damage might occur7Complete the installation by connecting the oil supply hose to the engine's oil inlet fitting Before attaching hose, squeeze oil primer bulb to purge all air from oil lineAllow small amount of oil to flow from the hose to remove any contaminants that might be in the line Install the oil hose on the oil inlet fittingUse only the ratchet clamp supplied with the kit to secure the lineTighten with pliers To complete priming, squeeze oil primer bulb until oil is visible at the sight tube located in the oil hose near the pump During the break-in period, the engine's fuel tank must have 50: fueloil mixture in addition to operationPrime the oil system before priming fuel systemIf fuel system is primed first, the oil system must be primed with the engine idlingPrime until oil is visible at the sight tubepumpWarning horn will sound until oil reaches the 8Store the protective cap removed from the oil inlet fitting on the yellow cap holder attached to the VRO fuel hose9The oil level must be marked on the side of the reservoir before putting the engine into service After the break-in period, the operator must verify that oil has been used before switching to clear fuel in the boat's fuel tank10Follow Engine Break-In Procedure outlined in Section 1