1991 Johnson/Evinrude Models "EI" 40 thru 55 Service Manual, Page 149Get this manual

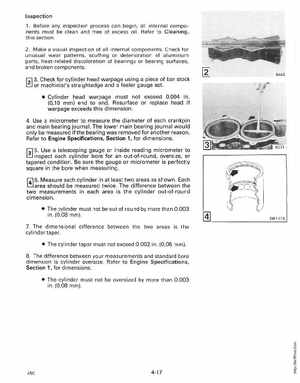
Inspection 1Before any inspection process can begin, all internal components must be clean and free of excess oilRefer to Cleaning, this section 2Make visual inspection of all internal componentsCheck for unusual wear patterns, scuffing or deterioration of aluminum parts, heat-related discoloration of bearings or bearing surfaces, and broken components 9445
3Check for cylinder head warpage using piece of bar stock
or machinist's straightedge and feeler gauge set Cylinder head warpage must not exceed 0.004 in(0,10 mm) end to endResurface or replace head if warpage exceeds this dimension
4Use micrometer to measure the diameter of each crankpin
and main bearing journalThe lower main bearing journal would only be measured if the bearing was removed for another reasonRefer to Engine Specifications, Section 1, for dimensionsUse telescoping gauge or inside reading micrometer to inspect each cylinder bore for an out-of-round, oversize, or tapered conditionBe sure the gauge or micrometer is perfectly square in the bore when measuringarea should be measured twiceThe difference between the two measurements in each area is the cylinder out-of-round dimension The cylinder must not be out of round by more than 0.003 in(0,08 mm)7The dimensional difference between the two areas is the cylinder taper