1990 Johnson Evinrude 120 thru 140, 185 thru 225, 300 HP, P/N 507875, Page 420Get this manual
Power TrimTilt Servicing Removal 1V4 modelsmark angle adjusting rod location and remove rod 2Lift engine manually and engage tilt trail lock3Remove blue and green wires from pump motor connector housing
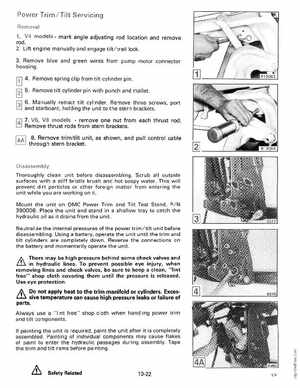
5J 4Remove spring clip from tilt cylinder pin 5Remove tilt cylinder pin with punch and mallet
6Manually retract tilt cylinderRemove three screws, port and starboard, holding the unit to the stern brackets7V6, V8 modelsremove one nut from each thrust rodRemove thrust rods from stern brackets8Remove trimtilt unit, as shown, and pull control cable through stern bracket
Disassem bly Thoroughly clean unit before disassemblingScrub all outside surfaces with stiff bristle brush and hot soapy water This will prevent dirt particles or other foreign matter from entering the unit while you are working on itMount the unit on OMC Power Trim and Tilt Test Stand, PI 390008Place the unit and stand in shallow tray to catch the hydraulic oil as it drains from the unitNeutralize the internal pressures of the power trimtilt unit before disassemblingUsing battery, operate the unit until the trim and tilt cylinders are completely downReverse the connections on the battery and momentarily operate the unitThere may be high pressure behind some check valves and in hydraulic linesTo prevent possible eye injury, when removing lines and check valves, be sure to keep clean, "lint free" shop cloth covering them until the pressure is releasedUse eye protection