1985 OMC 65, 100 and 155 HP Models Commercial Service Manual, PN 507450-D, Page 246Get this manual
Cleaning, Inspection and RepairAll Models 1I nspect clamp screw assemblyReplace swivel plate and retainer if bent or looseTo install new swivel plate remove screw and old plateApply OMC Locquic Primer to the threads of the screw and allow it to dry four to five minutesThen apply OMC Ultra Lock to threadsI nstall new swivel plate with screw and tighten securely2Clean all parts with parts cleaning solvent and dry with compressed airAll nut and screw threads coated with OMC Screw Lock or Nut Lock must be thoroughly cleaned before reassemblyWhen using an OMC thread locking product, be sure to prime the adhesion surfaces with OMC Locquic Primer3Discard all oil seals, a-rings, and gaskets
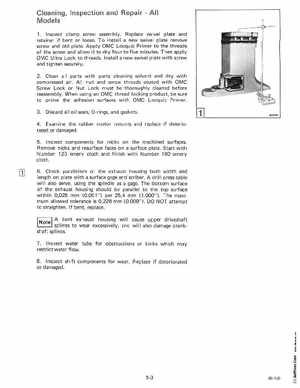
4Examine the rubber motor mounts and replace if deteriorated or damaged5I nspect components for nicks on the machined surfacesRemove nicks and resurface faces on surface plateStart with Number 120 emery cloth and finish with Number 180 emery cloth6Check parallelism of the exhaust housing both width and length on plate with surface gage and scriberA drill press table will also serve, using the spindle as gageThe bottom surface of the exhaust housing should be parallel to the top surface within 0,025 mm (0.001") per 25,4 mm (1.000")The maximum allowed tolerance is 0,228 mm (0.009")DO NOT attempt to straightenIf bent, replacebent exhaust housing will cause upper driveshaft splines to wear excessively, and will also damage crankshaft splines7I nspect water tube for obstructions or kinks wh ich may restrict water flow8I nspect shift components for wearReplace if deteriorated or damaged