2011 Arctic Cat DVX 300 / 300 Utility ATV Service Manual, Page 110Get this manual
INSTALLING (DVX) 1Fit the body over the handlebar and rotate into normal mounting position2Using the existing hardware, secure the front fenders to the fender supports; then connect the headlight3Using the existing hardware, secure the rear fenders to the forward fender supports; then secure the rear fender to the frame with four cap screws and flange nutsTighten securely4Install the six cap screws securing the body to the top of the frameTighten securelyKM789A
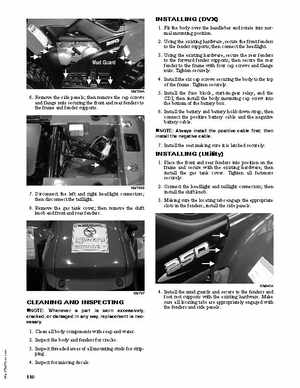
6Remove the side panels; then remove the cap screws and flange nuts securing the front and rear fenders to the frame and fender supports
5Install the fuse block, start-in-gear relay, and the CDI; then install the body mounting cap screw into the bottom of the battery box6Install the battery and battery hold-down strap; then connect the positive battery cable and the negative battery cableNOTE: Always install the positive cable first; then install the negative cable
7Install the seat making sure it is latched securely
INSTALLING (Utility)